Change settings in InfanView® slideshows
TIME
between pictures, presented text, background, etc.)
|
|
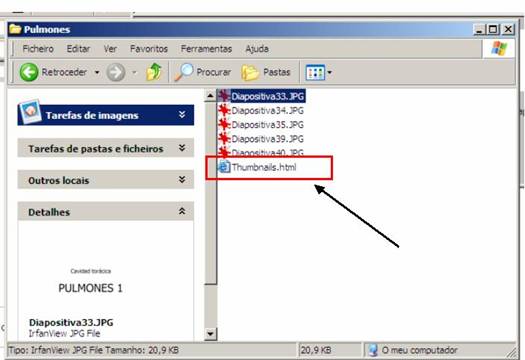
1.- Open the folder where the pictures and the
Thumbnails.html are. |
|
|
|
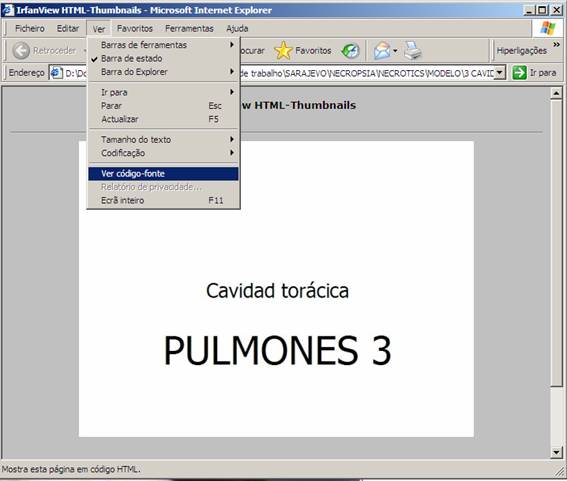
2.- To change anything we should enter the HTML
code of the slideshow. In order to do this we should open the “Thumbnails”
with Internet Explorer and then go to “View > View HTML code”. |
|
|
|
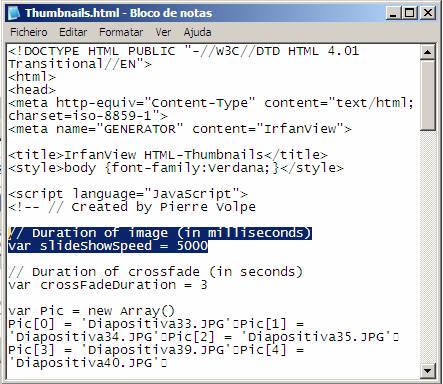
A very confusing text will
appear (don’t be scared J) which is the HTML code of the document. |
|
If we go to the option “slidesShowSpeed” we can change the TIME THAT EACH SLIDE WILL APPEAR. It is set in 5 seconds but you
can change it for example to 3 seconds (you should put 3000 instead of 5000 –
it is presented in milliseconds). |
|
|
|
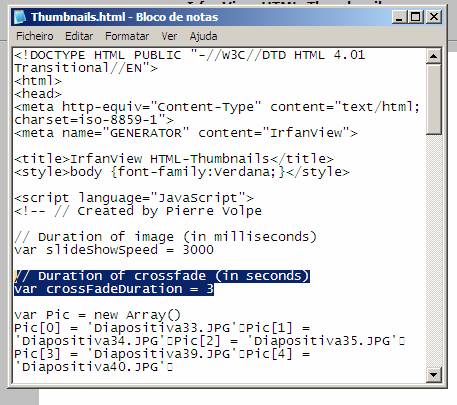
If we go to the option “CrossFadeDuration = |
|
|
|
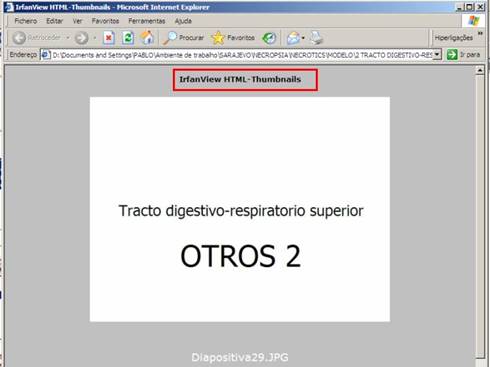
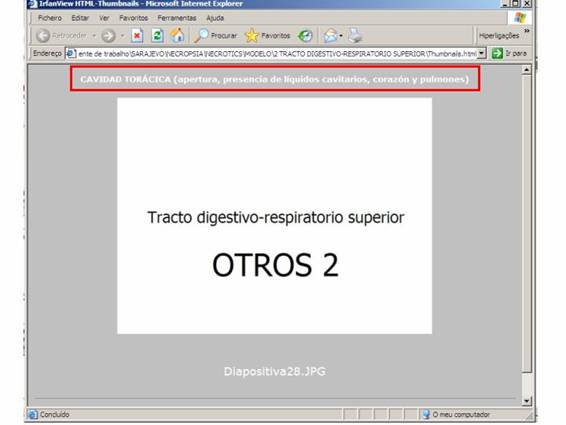
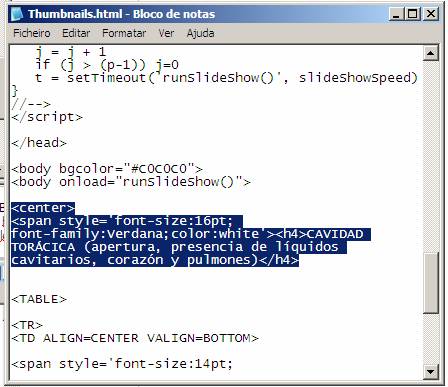
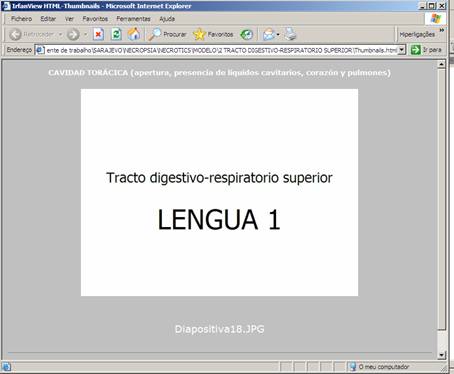
You can add a little text (don’t
make many changes as the pictures will be dislocated and the most important
is to SEE not to READ, write the minimum). In this next example will change
the IrfanView HTML – Thumbnails to a more suitable
text, for example, THORACIC CAVITY (opening, liquid presence, hearth and
lungs). |
|
|
|
|
|
The following will happen: |
|
|
|
|
|
|
|
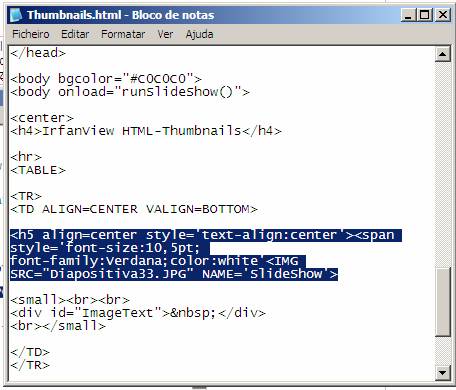
You can change
the size and colour of the text of each picture. Search this part at the
end of the code and alter it by putting this code: “<h5 align=center style='text-align:center'><span
style='font-size:10,5pt; font-family:Verdana;color:white'>”
|
|
|
|
|
|
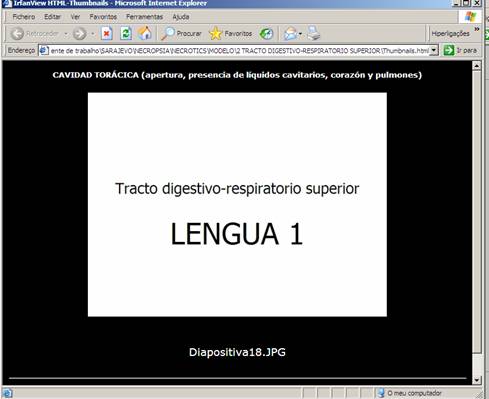
You can change
the background in wish the pictures appear. In this part <body bicolor= “#c0c0c0”> you can write the colour you
desire (for example black <body bicolor=
“black”>). Every colours are described by a
numeric and letter code. The most common ones are described also by words
(black, white, blue, red, etc.). To know the codes of other more complex colours
you can find a list or a simple program on the Internet (for example here you can find
a list of colours). |
|
|
|
|
|
The following will happen: |
|
|
|
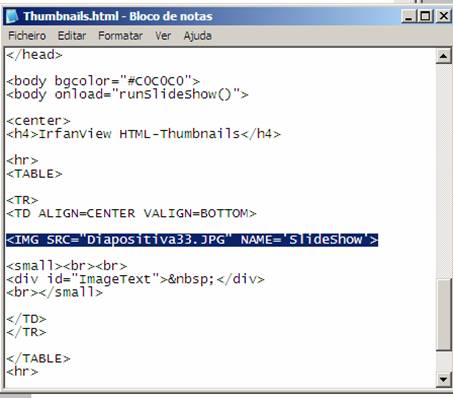
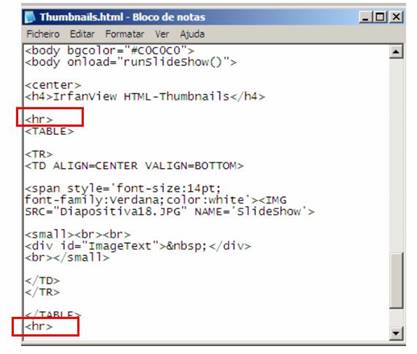
You can eliminate
the transverse bars that are showed by predefinition on the HTML text by
erasing the <hr> codes. |
|
|
|
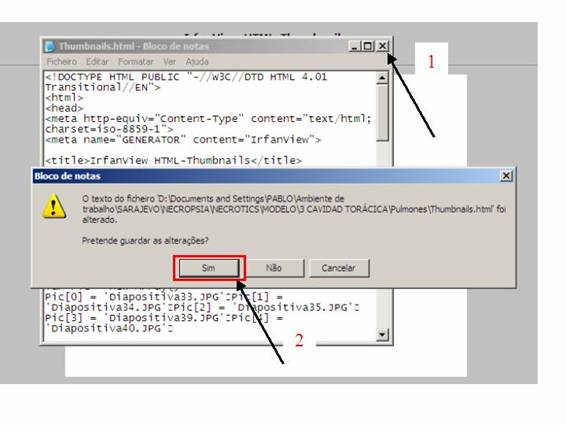
Then you can close
the document (1) and when asked
to save the changes, click Yes (2). |
|
|